
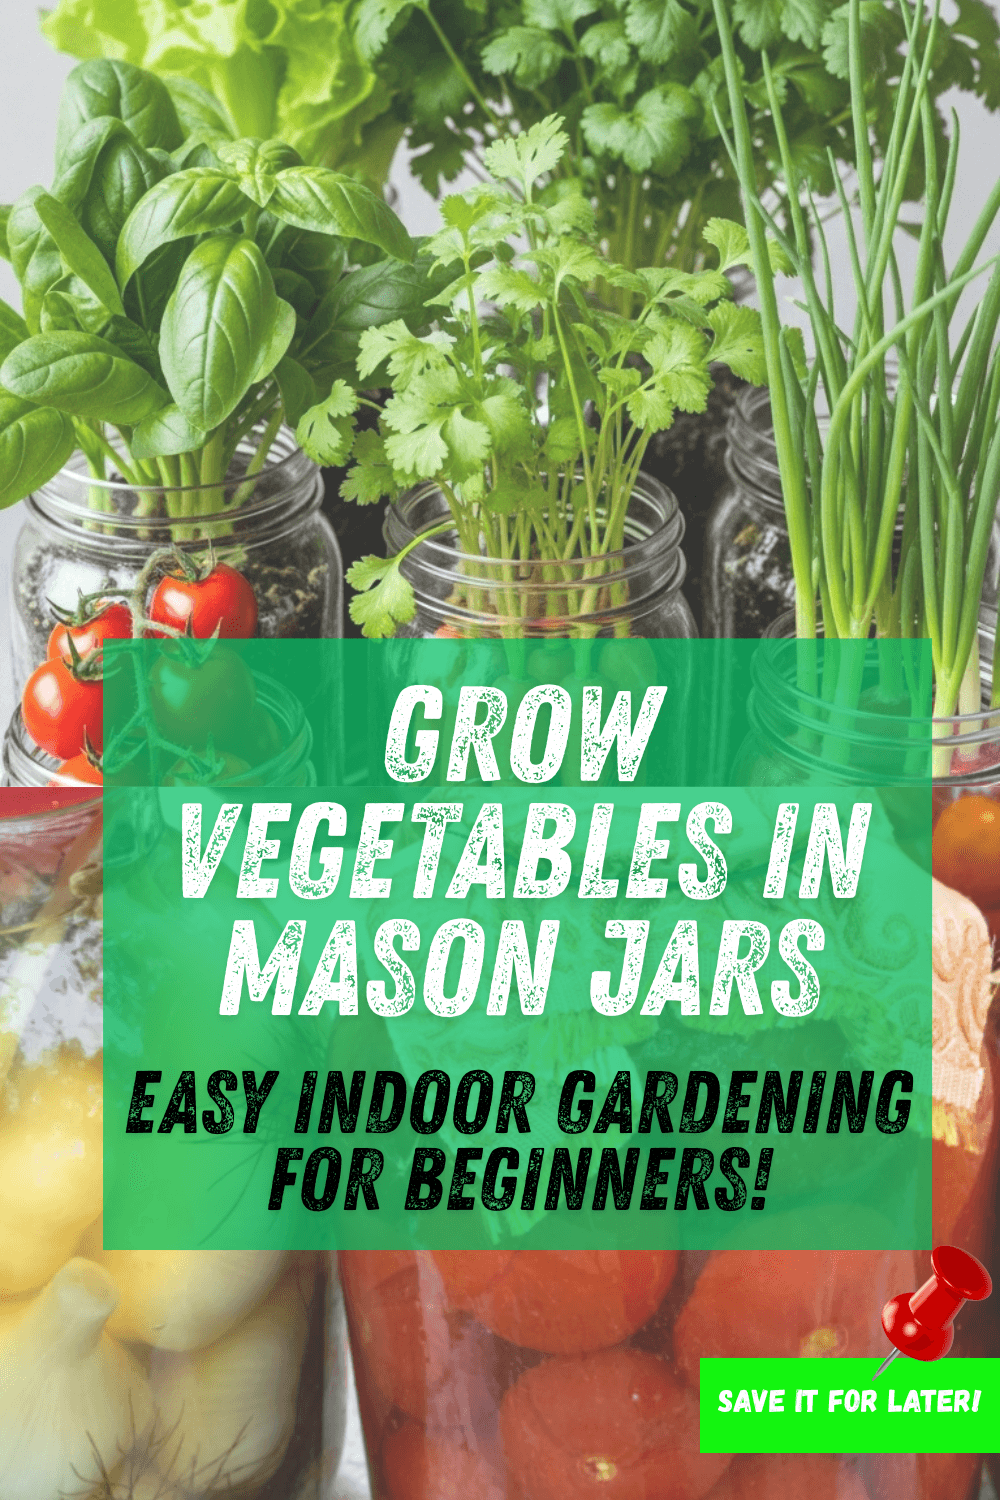
Discover the easy way to grow vegetables in Mason jars with this simple, step-by-step guide. Learn about the best plants, watering guidelines, lighting, and harvesting techniques to provide fresh, healthy veggies indoors year-round.
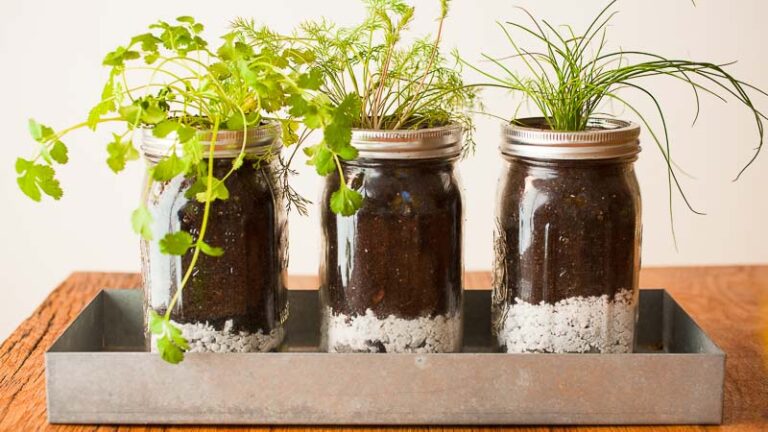
If you’ve ever dreamed of growing your own vegetables indoors, Mason jars make it easier than you think.
They’re compact, fashionable, and perfect for windowsills or small spaces.
With a few components and a bit of care, you could enjoy the freshness of homegrown produce year-round.
1. Why Grow Vegetables in Mason Jars
Growing veggies in Mason jars is a simple, sustainable, and space-saving technique.
It’s an excellent choice for renters or anyone seeking a touch of expert interior design.
The jars offer an appealing display for your property while providing you with brief access to fresh herbs and greens.
It’s each useful and decorative.
2. Gather All the Supplies You’ll Need

Before you begin, gather the essentials for your jar garden setup.
You won’t want a lot—simply those necessities:
Mason jars (16–32 oz.)
Small pebbles or gravel for drainage
Potting mix (light and ethereal)
Seeds or seedlings
A small spoon or trowel
A sunny window or develop mild
Once everything is set up, you can begin planting right away.
Check this: Month-by-Month Guide to Vegetable Garden: An Easy Growing Calendar
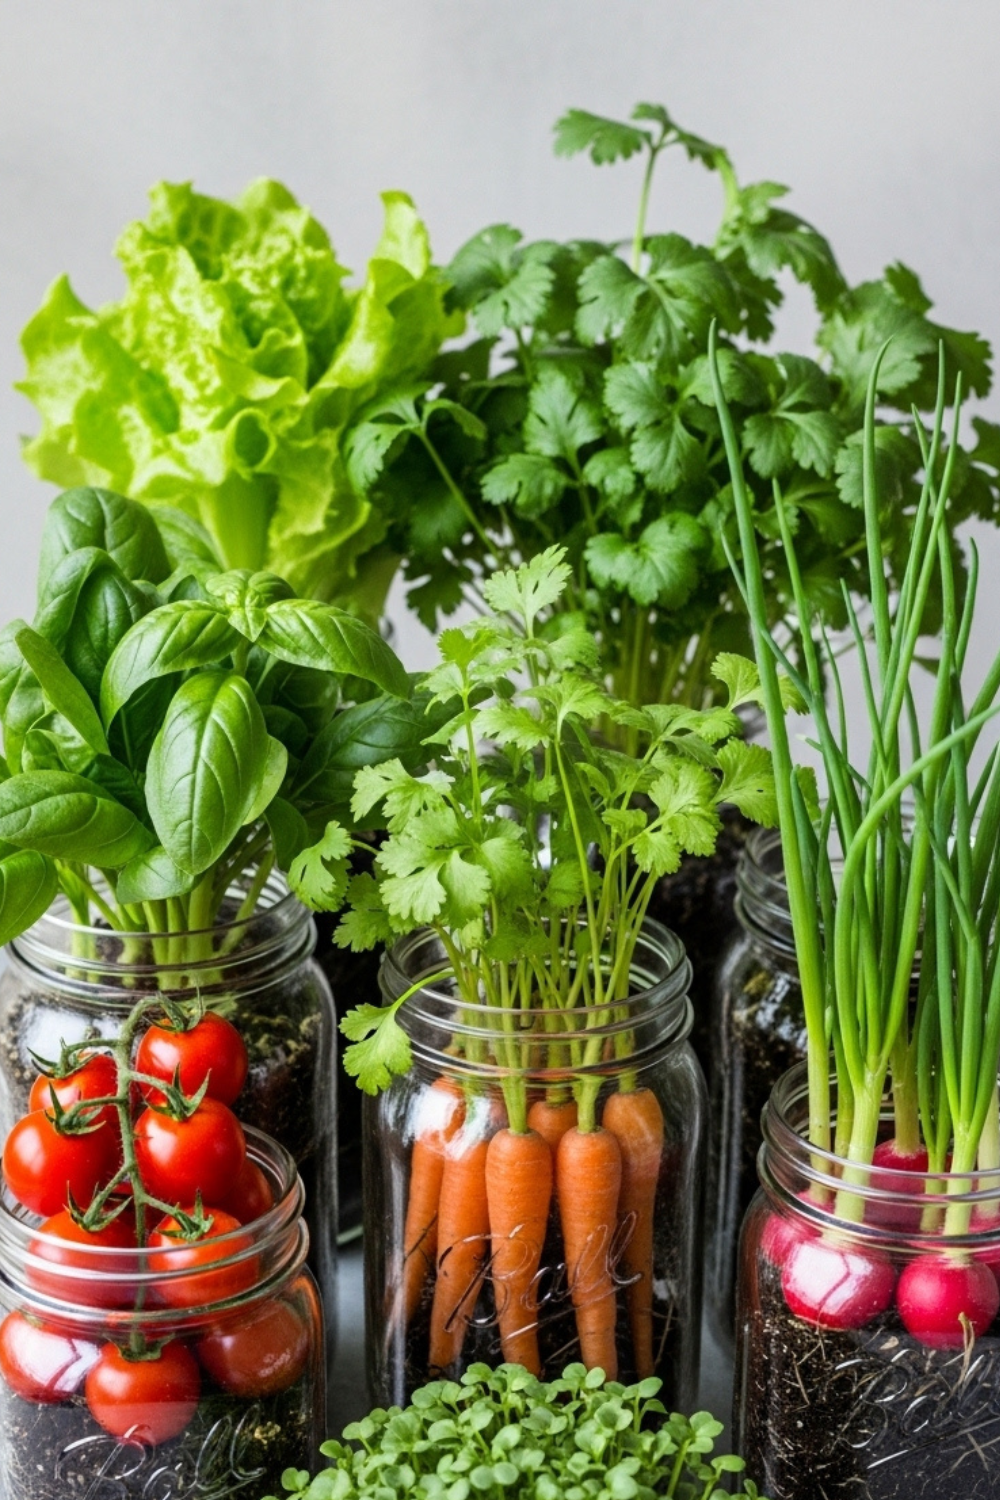
3. Choose the Best Vegetables for Mason Jars
Not all vegetables thrive in constrained spaces, so choose compact growers.
These thrive beautifully in jars and deliver short effects:
Leafy vegetables like lettuce and spinach
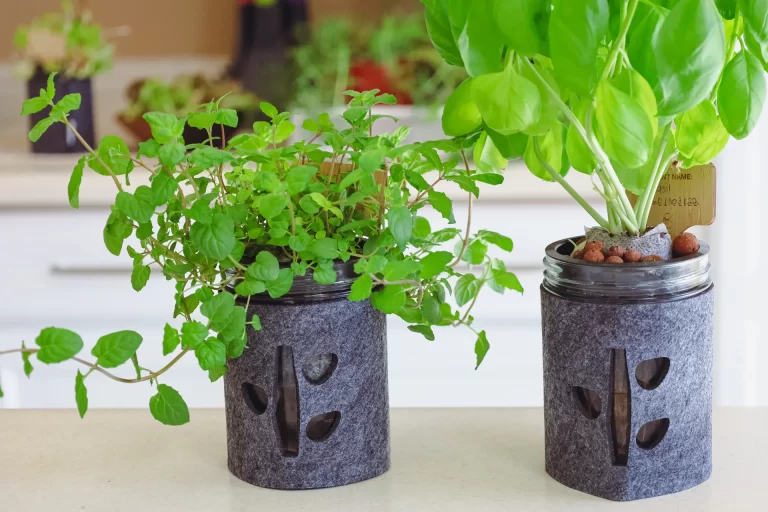
Herbs, such as basil, mint, parsley, or cilantro
Green onions and chives
Radishes or microgreens
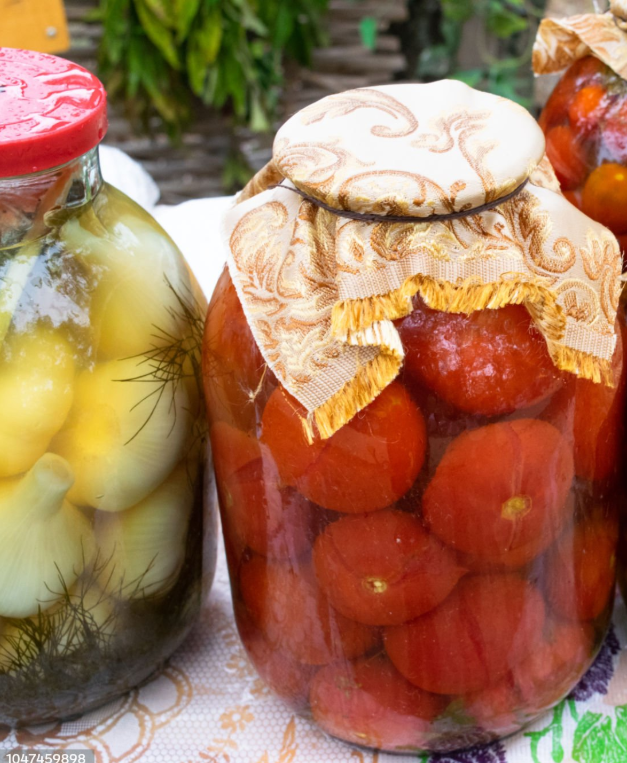
Cherry tomatoes (in case you support them)
Start small—you can continually expand as you achieve success.
4. Create a Drainage Layer in Each Jar
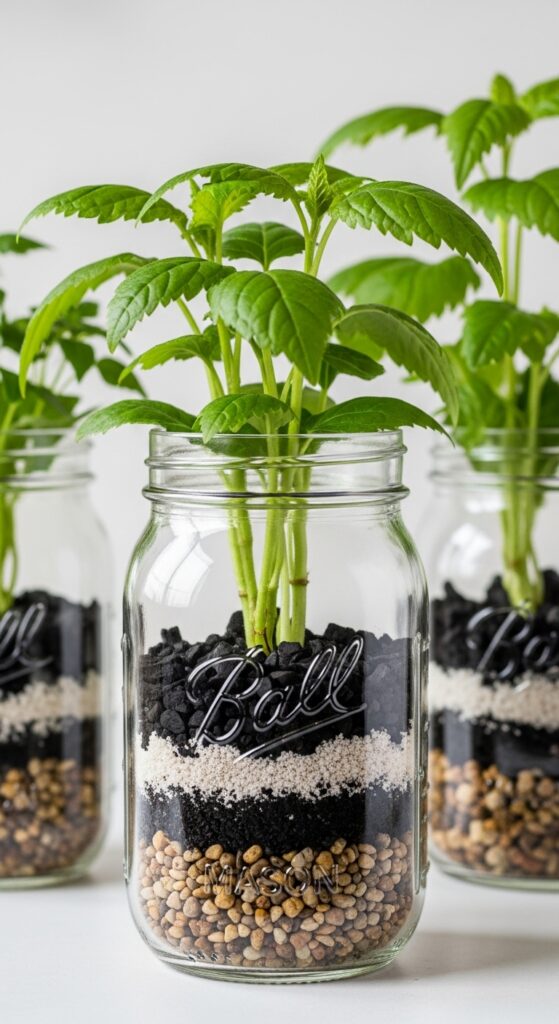
Because Mason jars don’t have any drainage holes, proper layering is prime.
Add about an inch of pebbles or gravel to the lowest.
For an even more sparkling look, sprinkle a thin layer of activated charcoal over the surface.
This prevents odors and keeps your flowers’ roots from sitting in water.
5. Add High-Quality Potting Soil
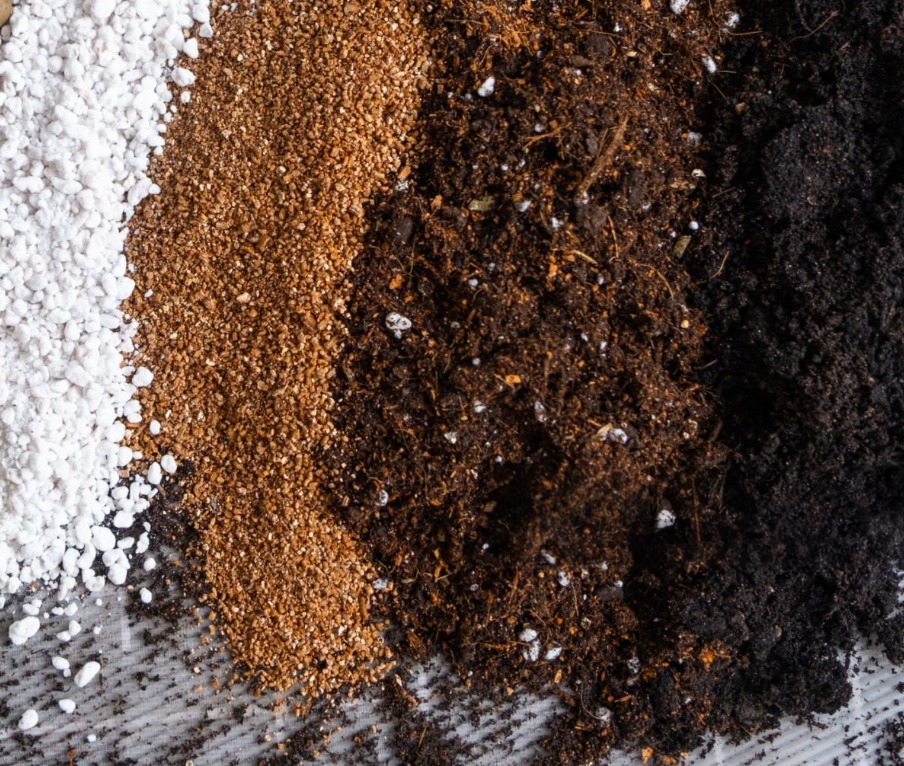
Use a light-weight, nutrient-rich blend rather than ordinary lawn soil.
Potting soil provides higher airflow and an extra balanced moisture stage for your roots.
Fill your jar approximately three-quarters full and gently tap it down to the preferred level.
Leave sufficient space at the top for watering and root boom.
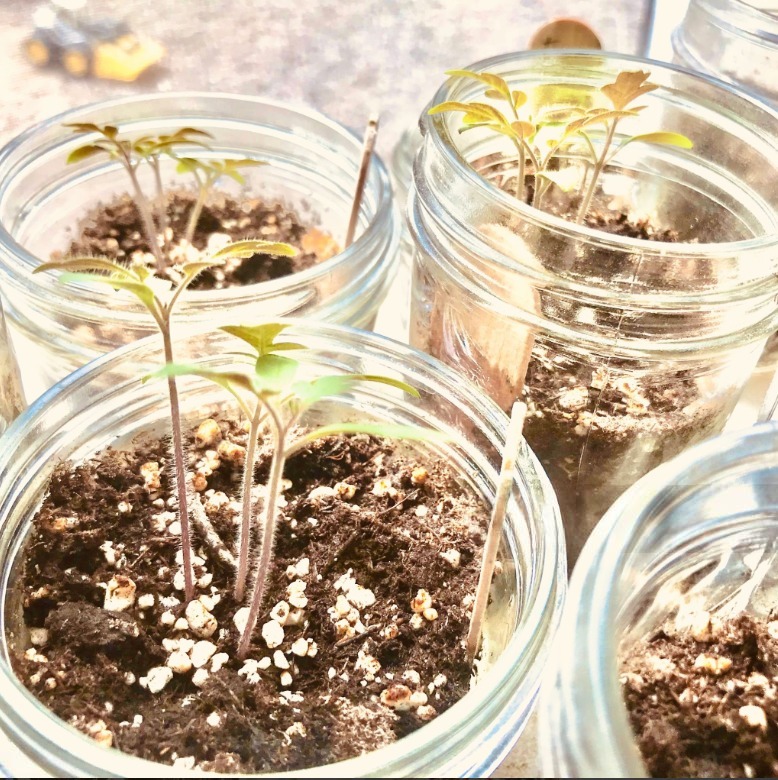
6. Plant Your Seeds or Starter Plants
Make small holes with your finger or spoon—about half an inch deep.
Drop to 3 seeds in each hole, then cover lightly with soil.
Mist the top layer with water till it’s barely damp, not soaked.
If you’re using seedlings, press the soil lightly around their roots.
7. Water Carefully and Consistently
Overwatering is the most common gardening mistake.
Since there are no drainage holes, water slowly and sparingly.
Check the top inch of soil—if it feels dry, it’s time to water.
A spray bottle facilitates precise control over the quantity.
8. Give Them Enough Light to Thrive
Sunlight is essential for healthy growth.
Place your jars where they’ll receive at least six hours of herbal sunlight daily.
If sunlight is limited, use a small LED develop light instead.
Rotate the jars every few days for even growth and stronger stems..
9. Feed Your Plants Regularly
Because jar soil quickly depletes its nutrients, light feeding is vital.
Every two to 3 weeks, add a diluted organic fertilizer.
Seaweed extract or compost tea works exceptionally well for herbs and vegetables.
This maintains your plant life vibrant and flavorful throughout the entire season.
10. Maintain Airflow and Good Conditions
Mason jar gardens thrive in a stable, ethereal environment.
Keep temperatures between 65°F and 75°F for quality results.
If you spot condensation within the jars, wipe them gently.
Proper airflow prevents the formation of mildew and fungus.
11. Harvest at the Perfect Time
Harvesting frequently keeps your vegetation effective.
Pick the outer leaves first and permit the inner ones to keep growing.
Use easy scissors to snip herbs just above a leaf node.
Freshly harvested greens will flavor brighter and crisper than those bought from a shop.
12. Common Problems (and Easy Fixes)
Problem 1: Yellow leaves? You’re overwatering.
Fix: Let the soil dry and trim broken leaves.
Problem 2: Slow growth? Not enough daylight.
Fix: Move jars to a brighter spot or use a grow light.
Problem 3: Moldy soil? Airflow is bad.
Fix: Loosen the top layer of soil and improve ventilation.
Troubleshooting is simple after you recognize your jar’s mini-surroundings.
13. Enjoy the Benefits of Mason Jar Gardening
Learning how to grow vegetables in Mason jars brings joy and simplicity to regular existence.
It’s green, lovely, and profitable in each sense.
With every new sprout, you’ll experience greater connectedness to nature, proper from your kitchen window.
FAQs About Grow Vegetables in Mason Jars
Q1. Can I grow root vegetables, such as carrots, in Mason jars?
Yes, but select mini or infant varieties—they want less root area.
Q2. How often ought I water my flowers?
Typically, a few times a week, depending on the humidity and sunlight levels.
Q3. Can I reuse the same soil after harvesting?
Yes! Refresh it by blending in compost or a new potting mix.
Q4. What are the very best vegetables initially?
Herbs, lettuce, and spinach proliferate and thrive in jars.
If it become helpful , save it!


