
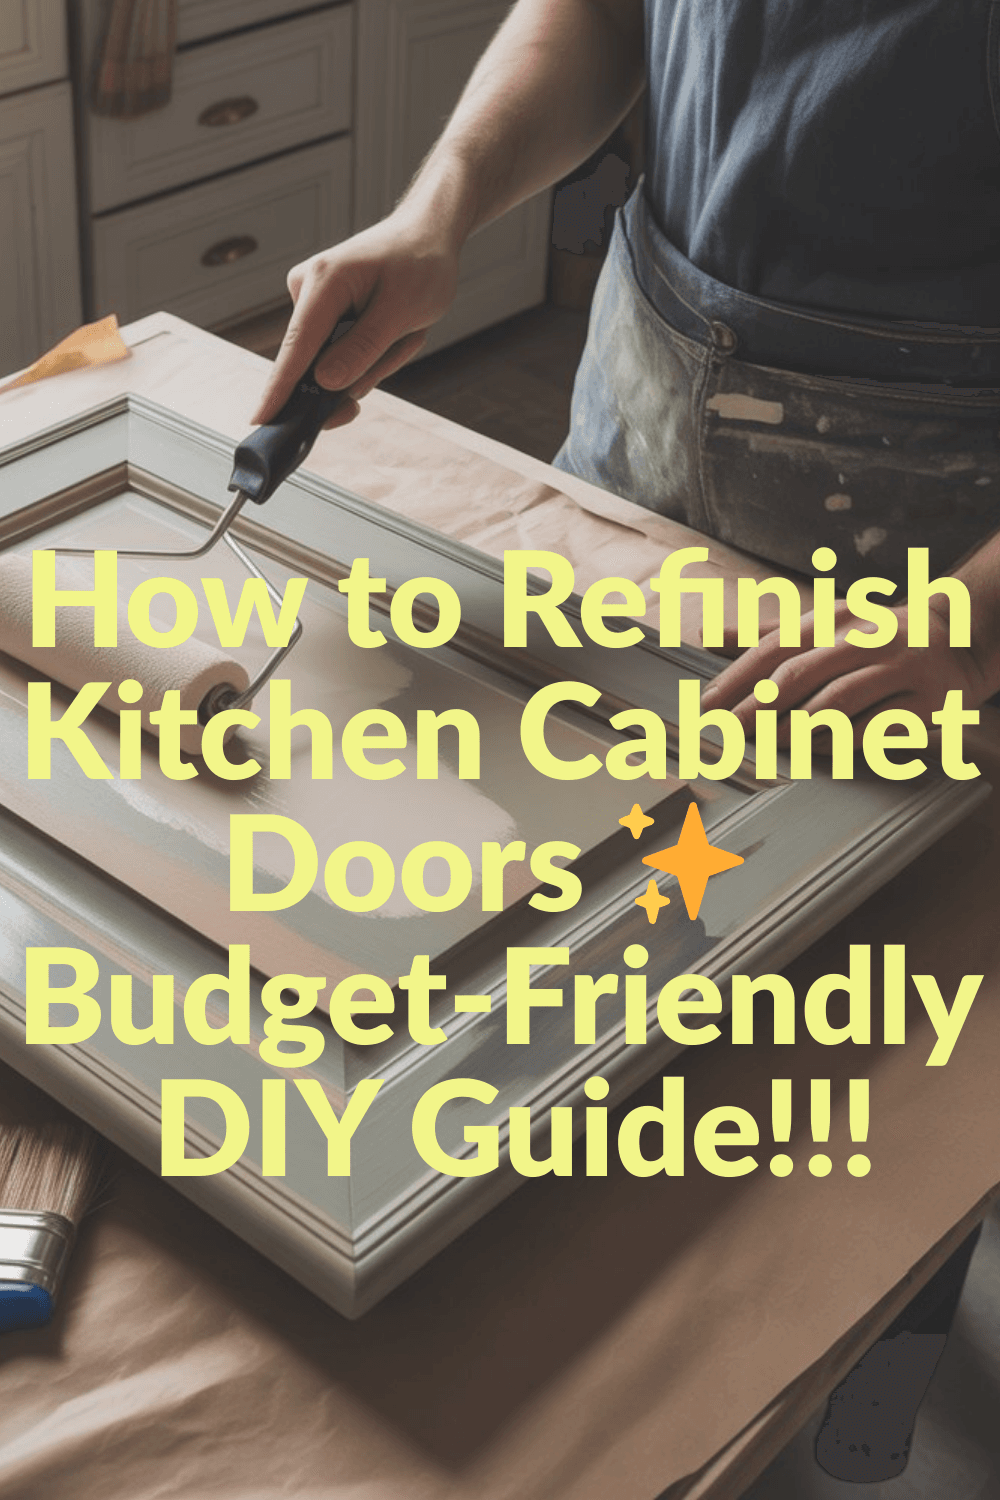
Learn how to refinish kitchen cabinet doors on a budget with this simple DIY guide. Affordable painting, staining, and creative alternatives to refresh your kitchen without replacing cabinets.
Introduction: A Budget Kitchen Glow-Up
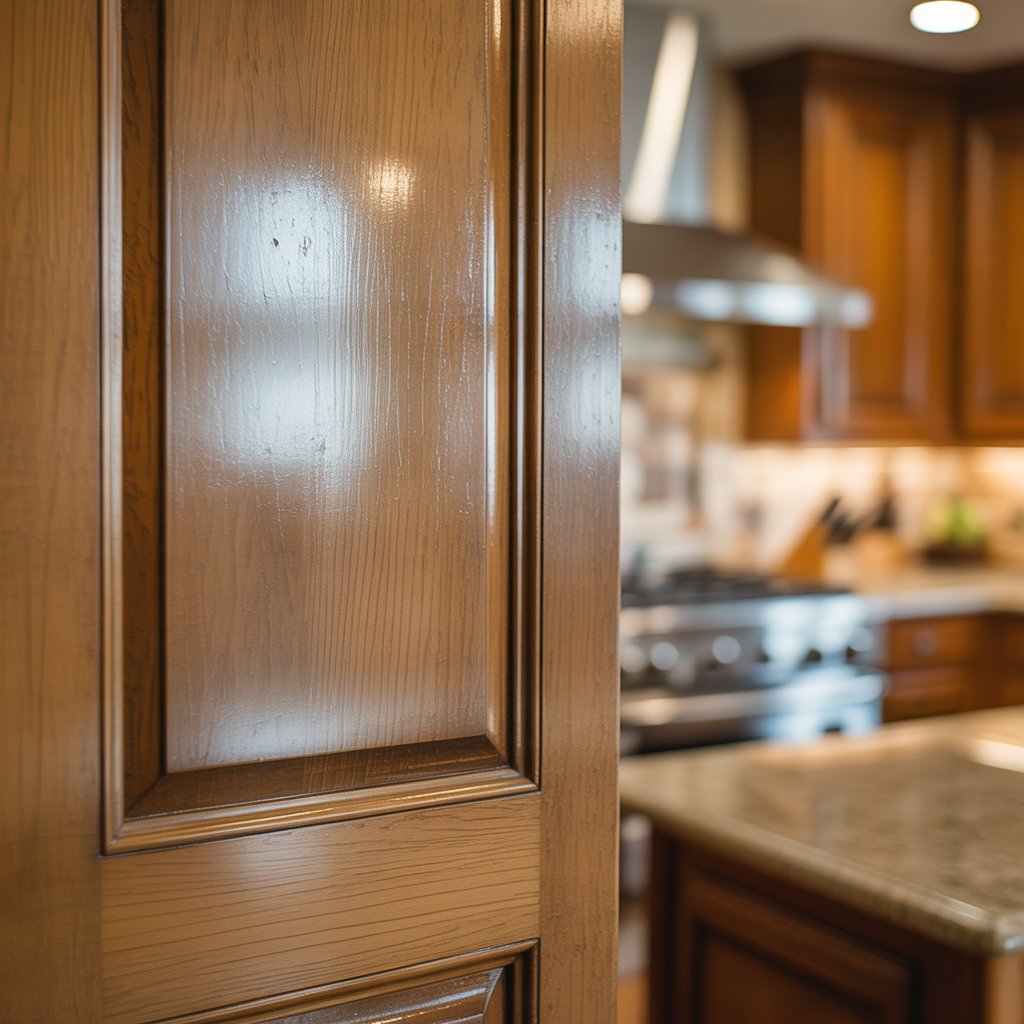
Your kitchen cabinets set the tone for your entire kitchen. But if they look dull, scratched, or outdated, the whole space can feel old. Replacing cabinets is expensive—but the good news? You don’t have to replace them. With some simple steps, you can learn how to refinish kitchen cabinet doors on a budget and make them look fresh, modern, and stylish again.
This project doesn’t require expert skills—just patience, basic tools, and a little creativity. Let’s walk through the process step by step.
1. Check Your Cabinet Doors First
Before you begin, see if refinishing is the right choice for your cabinets.
- Look at the condition: If your doors are solid wood and not broken, refinishing is usually a wise choice.
- Check the material: Solid wood refinishes best. Laminate can work too, but requires special primers.
- Examine the finish: Shiny surfaces may need extra sanding or a bonding primer.
💡 Tip: If doors are cracked or warped, refinishing won’t fix them—it may be better to replace.
2. Gather Budget-Friendly Tools and Materials
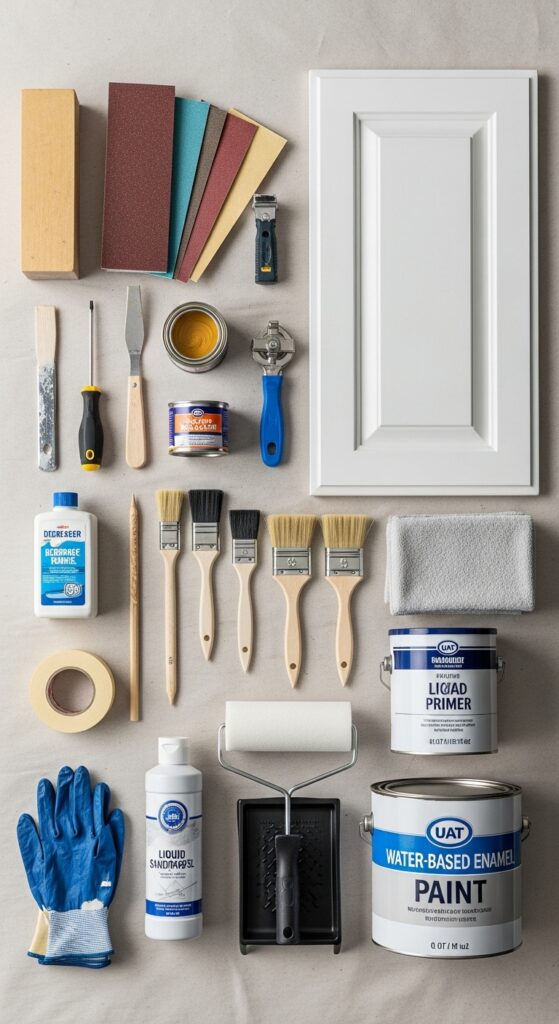
You don’t need expensive tools for great results. Stick with the essentials:
Must-haves:
- Sandpaper (120–220 grit)
- Degreaser or vinegar-water cleaner
- Paint or stain
- Primer (for painting)
- Screwdriver, brushes, rollers, drop cloths
Optional (nice to have):
- Paint sprayer (faster, smoother finish)
- Wood filler for scratches or old holes
💡 Tip: Check thrift shops or hardware store discount bins for budget-friendly brushes, knobs, and handles.
3. Remove Doors and Hardware
Take doors off their hinges and remove knobs or handles.
- Label each door and hinge location so reinstallation is easy.
- Store screws in a small bag or container.
- Work on a flat surface covered with old sheets or drop cloths.
4. Clean and Degrease Thoroughly
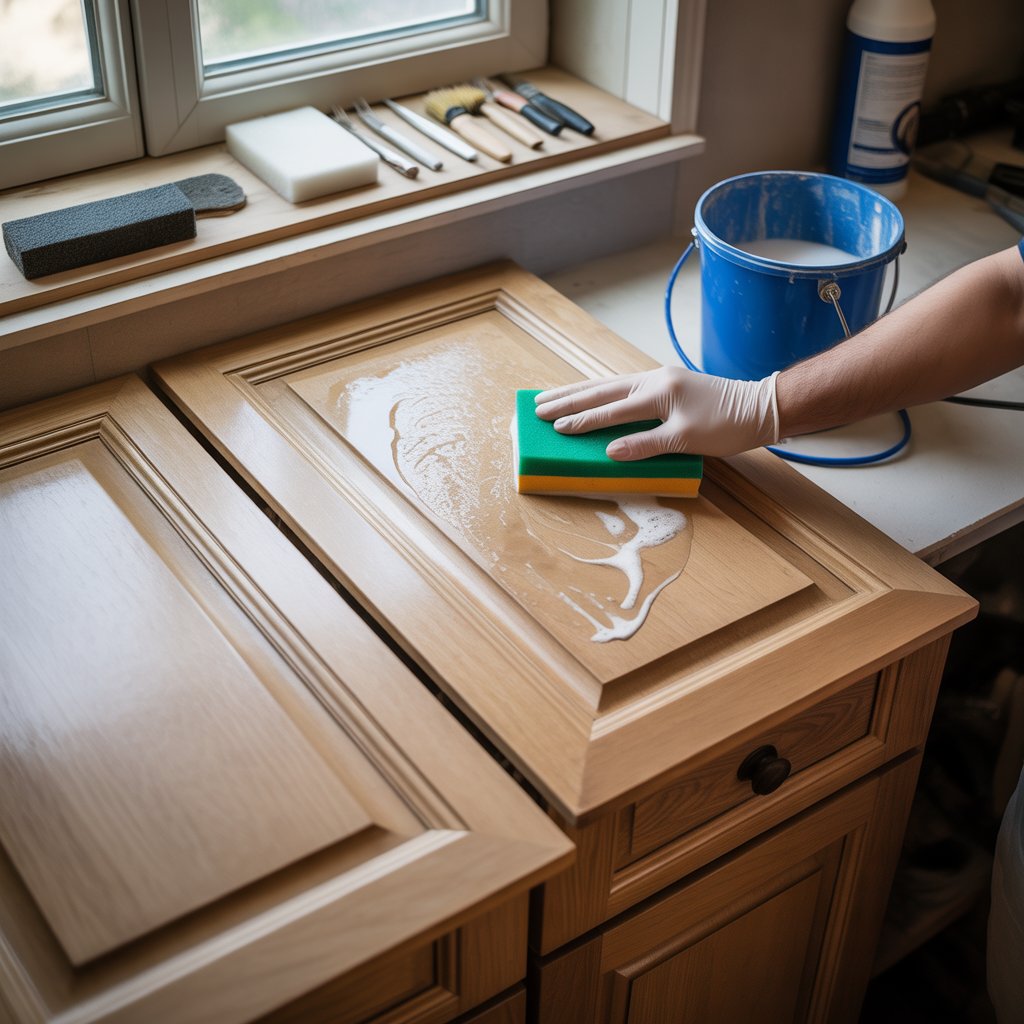
Kitchens = grease. If you skip this step, paint won’t stick.
- Use a degreaser or mix vinegar + water.
- Scrub gently with a sponge.
- Let dry completely before sanding.
💡 Homemade vs. Commercial: Homemade (vinegar or baking soda mix) is cheap and effective, but commercial degreasers often give more consistent results.
5. Sand or Strip the Old Finish
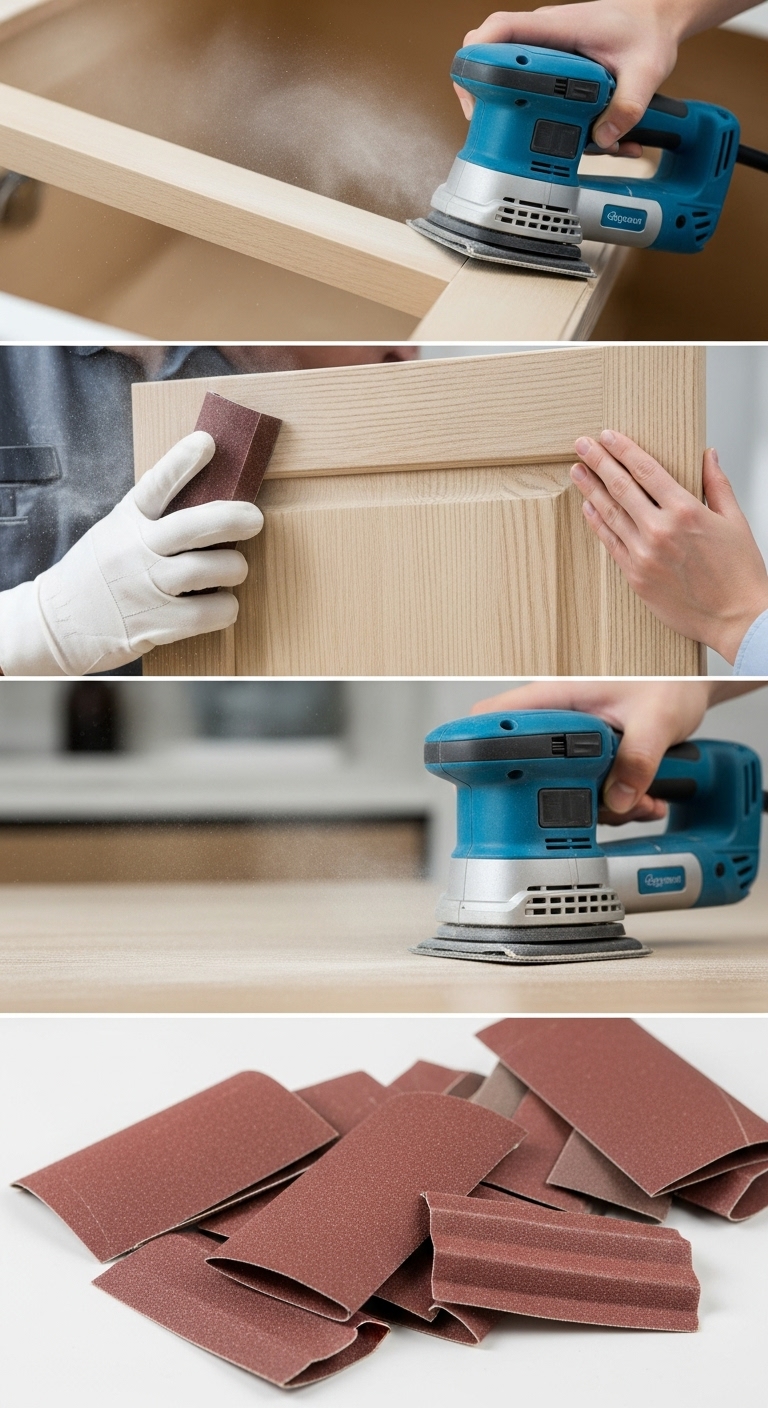
This step gives your cabinets a clean slate.
- Sanding: Use medium grit (120–150), then finish with fine (220).
- Chemical stripper: Faster for thick old varnish, but messier.
💡 Tip: Wear gloves, goggles, and a mask, and work in a well-ventilated area. Safety comes first!
6. Repair Scratches and Holes

Check for dents, cracks, or old handle holes.
- Fill scratches with wood filler.
- Patch holes if you plan to change the hardware style.
- Sand filler smooths after it dries.
7. Prime Before Painting (Skip if Staining)
Primer helps paint stick and last longer.
- Use bonding primer for glossy or laminate cabinets.
- Apply one thin, even coat and let it dry.
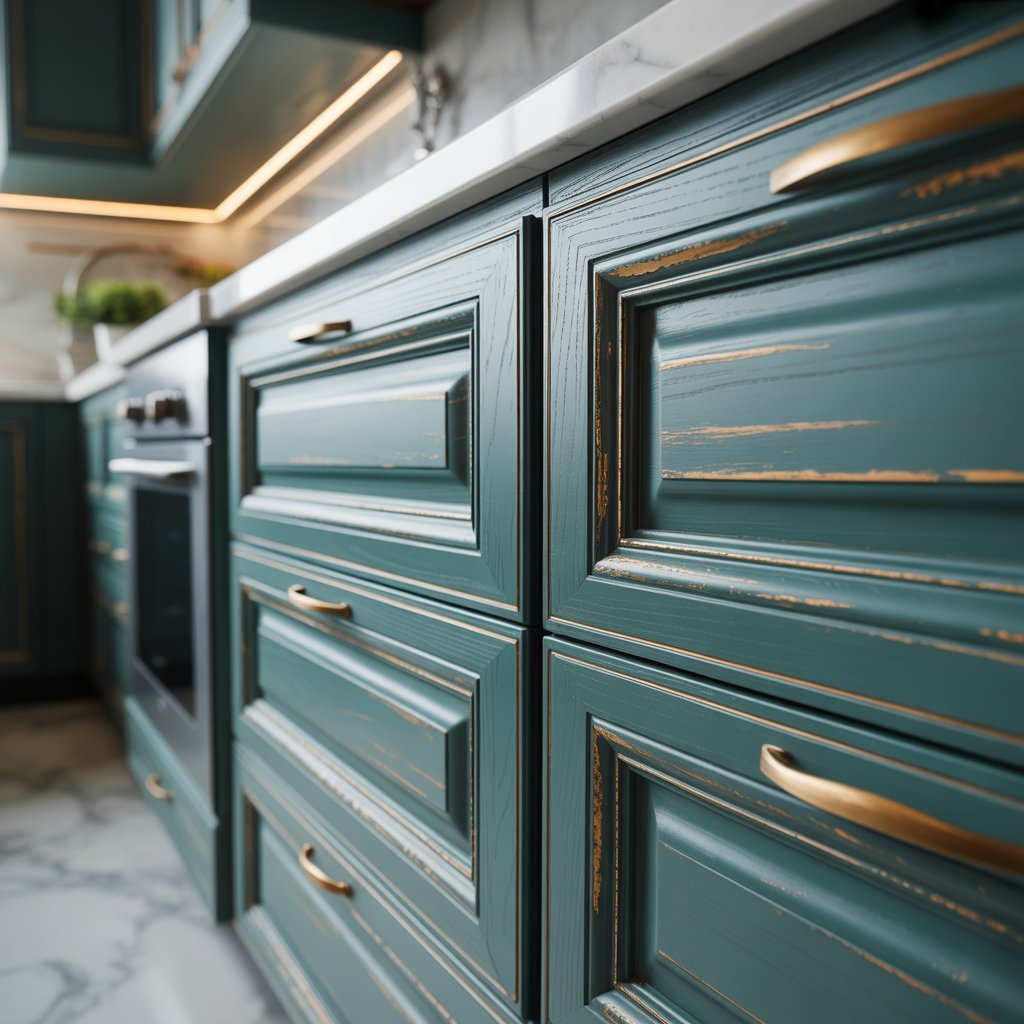
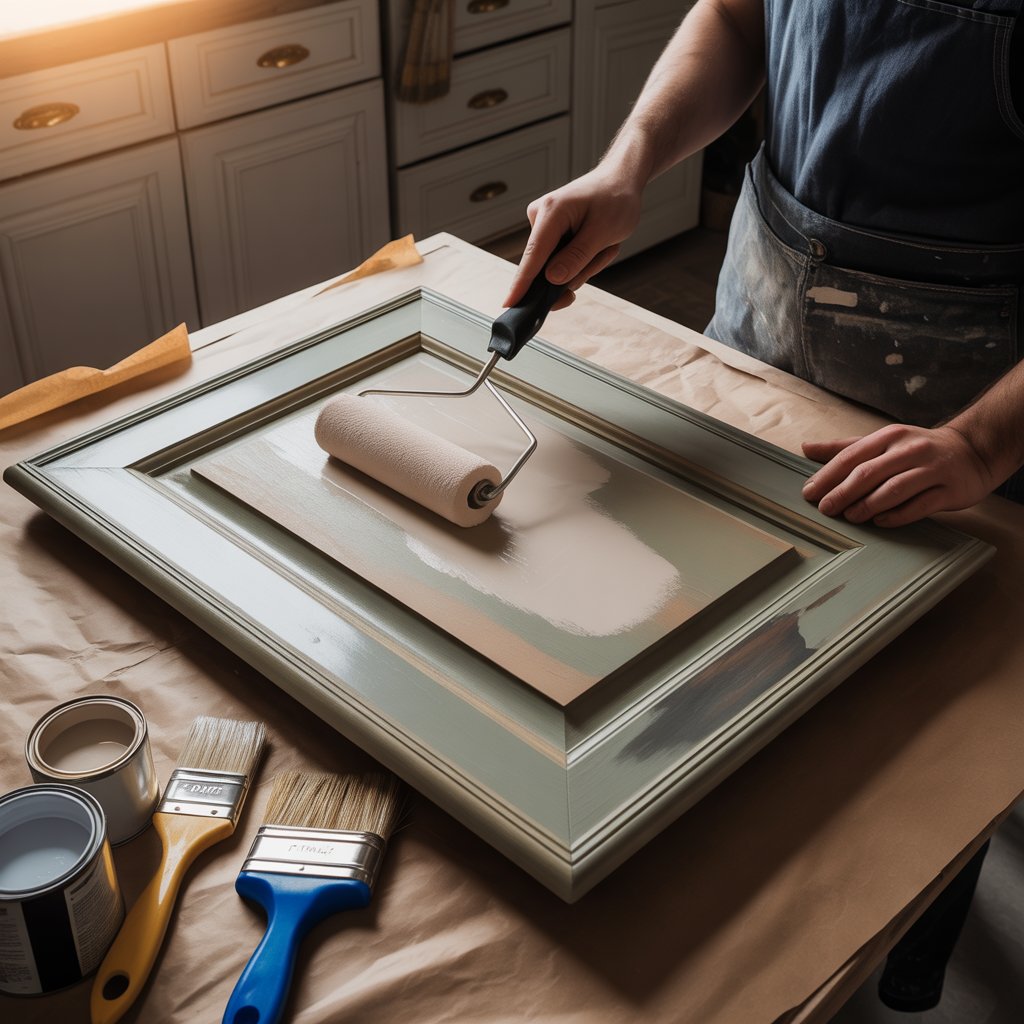
8. Paint or Stain Your Cabinets
Now the fun part—adding colour!
- Painting: Modern, bright, and affordable. White, cream, or light grey are budget-friendly classics.
- Staining: Highlights natural wood grain. Works best on solid wood doors.
Application methods:
- Brush/roller = more control.
- Sprayer = smoother finish, but optional.
💡 Tip: Two thin coats are better than one thick coat.
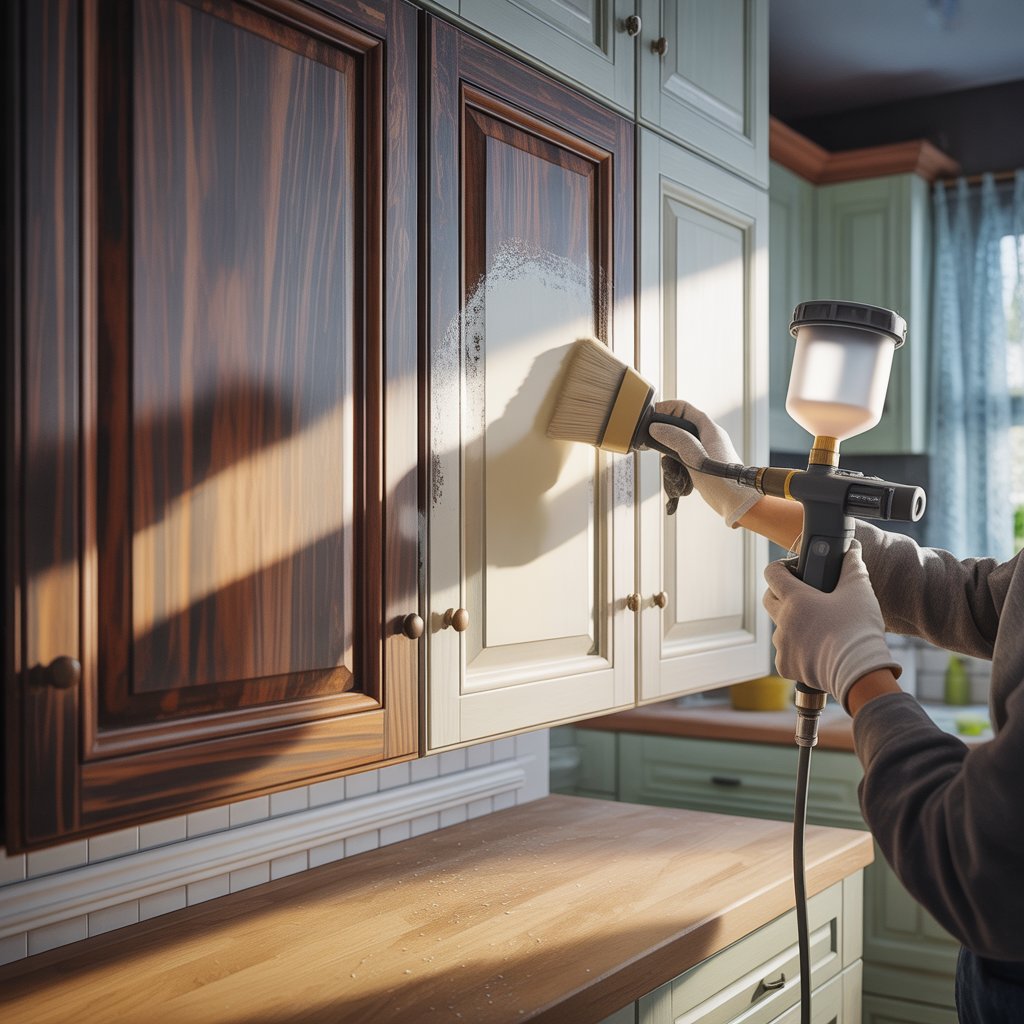
9. Apply a Protective Topcoat
To keep your hard work safe, seal it with a protective finish.
- For paint: Use a clear water-based polyurethane topcoat.
- For stain: Use polyurethane or oil-based sealer.
This makes cabinets easier to clean and resistant to scratches.
10. Reattach Doors + Add Finishing Touches

Once dry, carefully reattach doors and hardware.
- Update knobs and handles for a fresh, modern look.
- Check thrift shops, online marketplaces, or discount bins for affordable hardware.
- Add shelf liners or even stick-on LED strip lights under cabinets for an instant upgrade.
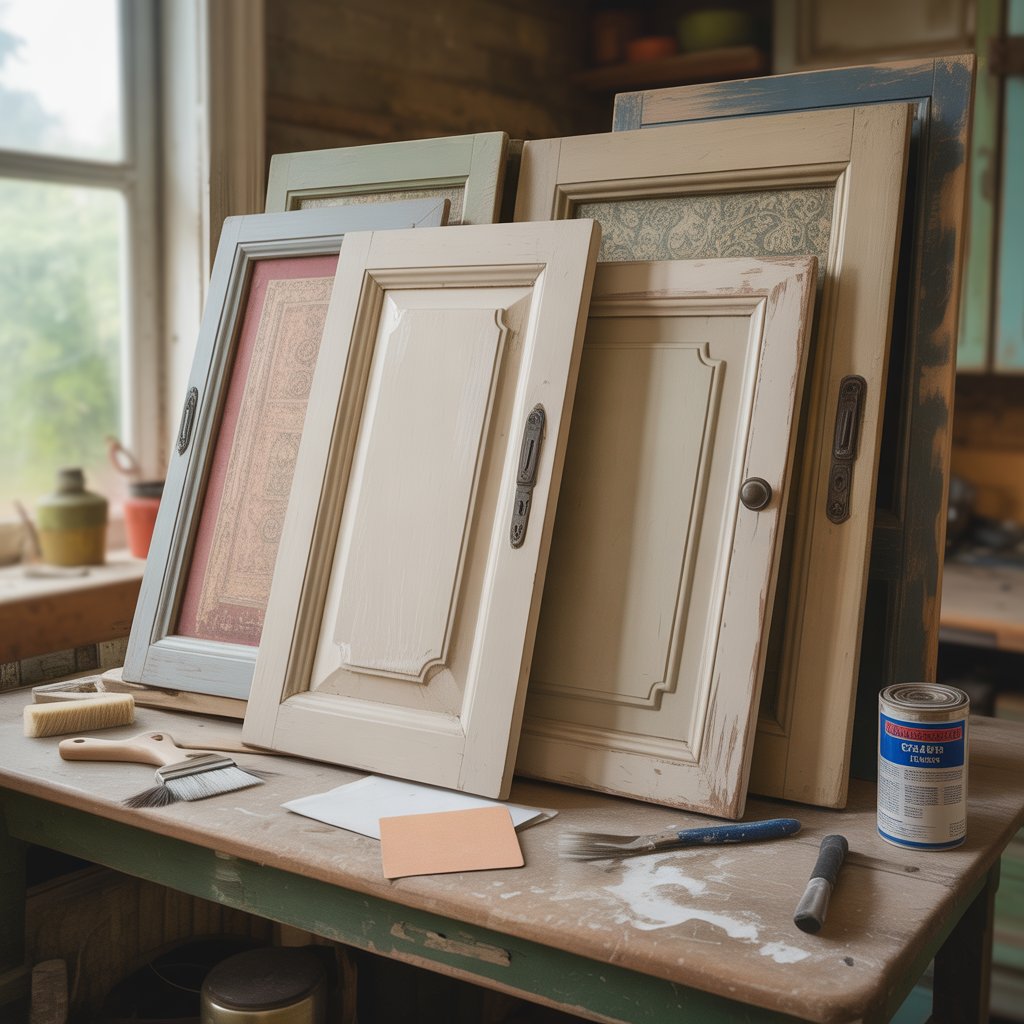
Creative, Budget-Friendly Alternatives
If you want something beyond painting or staining, try these fun options:
- Decoupage: Apply decorative paper designs with glue.
- Stencilling: Add patterns for a personalised look.
- Adhesive vinyl: Peel-and-stick finishes mimic wood, marble, or bold colours.
💡 Tip: These alternatives are great if you want a unique style on a small budget.
Maintaining Your Newly Refinished Cabinets
Your job doesn’t end after refinishing. Keep them looking good with simple care:
- Wipe regularly with mild soap and water.
- Avoid harsh chemicals or abrasive cleaners.
- Dust weekly to prevent buildup.
FAQs on How to Refinish Kitchen Cabinet Doors on a Budget
Q1: What is the cheapest way to refinish kitchen cabinet doors?
The cheapest method is DIY painting with sandpaper, primer, and budget-friendly latex or chalk paint. Expect to spend $50–$150.
Q2: How do I know if refinishing is right for my cabinets?
If your cabinets are structurally sound and not warped, refinishing is a great option. For damaged or broken doors, replacement may be better.
Q3: What safety steps should I follow?
Always wear gloves, a mask, and goggles. Work in a ventilated area, especially when sanding or using chemical strippers.
Q4: Can I use homemade cleaners instead of store-bought?
Yes! A mix of vinegar and water or baking soda paste can clean cabinets well. Just test a small spot first.
Q5: How can I keep my cabinets looking new for longer?
Clean gently with mild soap, avoid harsh chemicals, and consider reapplying a topcoat every couple of years.
Final Thoughts
Learning how to refinish kitchen cabinet doors on a budget is one of the most innovative DIY projects you can do. With the proper prep, affordable supplies, and a little patience, you’ll give your kitchen a makeover without spending thousands.
Not only will your cabinets look stunning, but you’ll also enjoy the satisfaction of doing it yourself. A fresh, stylish kitchen is closer—and cheaper—than you think!
For DIY home inspiration on How to Refinish Kitchen Cabinet Doors on a Budget, Watch You tube Video below


